Time-starved home dwellers looking for a fuss-free option to style their space need not look any further. Wallpapers allow house-proud owners to tailor their interiors specific to a theme – and their taste. No need for renovations. Just take the day off to roll up your sleeves and paper on your pattern of choice on a wall or more. We’ll lead the way.
Prep work
Always begin with a smooth and squeaky clean foundation. Like makeup, a flawless base creates a flawless finish. To achieve a flat surface, sand walls lightly first. Then, scrub them down and wash away any residue with a wet sponge soaked with mild detergent. For timeworn walls, remember to remove any loose plasters or adhesives and be prepared to repair defects prior to installation. This process may get messy, so it’s best to lay dust sheets across your floors. On a side note, we recommend roping in a reputable installer if you’re planning to paper more rooms.

Image credit: Tatum
Measure it out carefully
When it comes to installation, accuracy is crucial. Take down the measurements of the entire length, width and height of the room or wall, including the window and door openings. This helps you ascertain how many rolls of wallpaper you need to purchase. But mistakes are bound to happen, especially if you’re new at this. To prepare for any blunders, round up your measurements. Ordering a couple more rolls of paper ensure you have extra to work with – just in case.
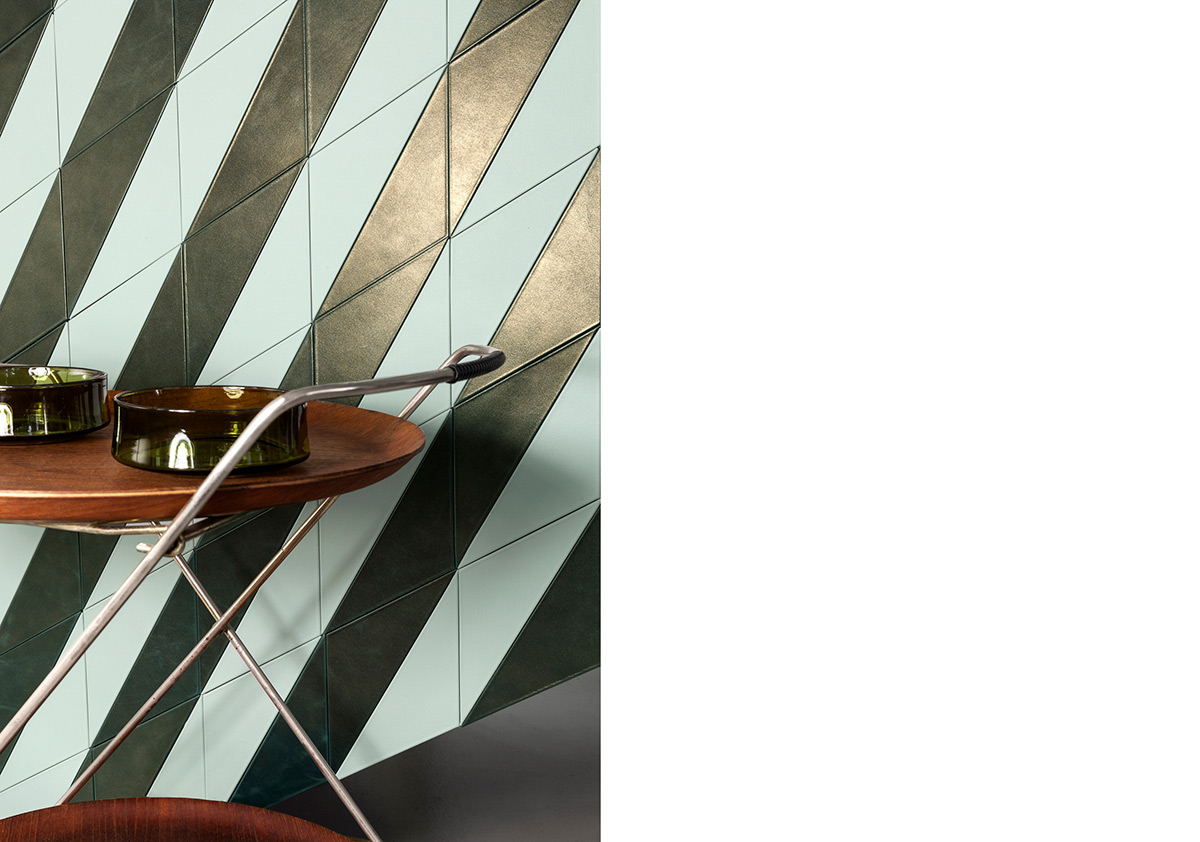
Image credit: Tatum
Hang it up with care
Wallpapers come in a roll, and they’re hung vertically downwards. To ensure your paper – especially the first row – is perfectly straight, invest in a bubble level or a plumb bob. The former lets you ensure evenness for both horizontal and vertical lines, while the latter is only used as a vertical reference line. Mark out lines on your wall to guide you along as you paste your paper on.
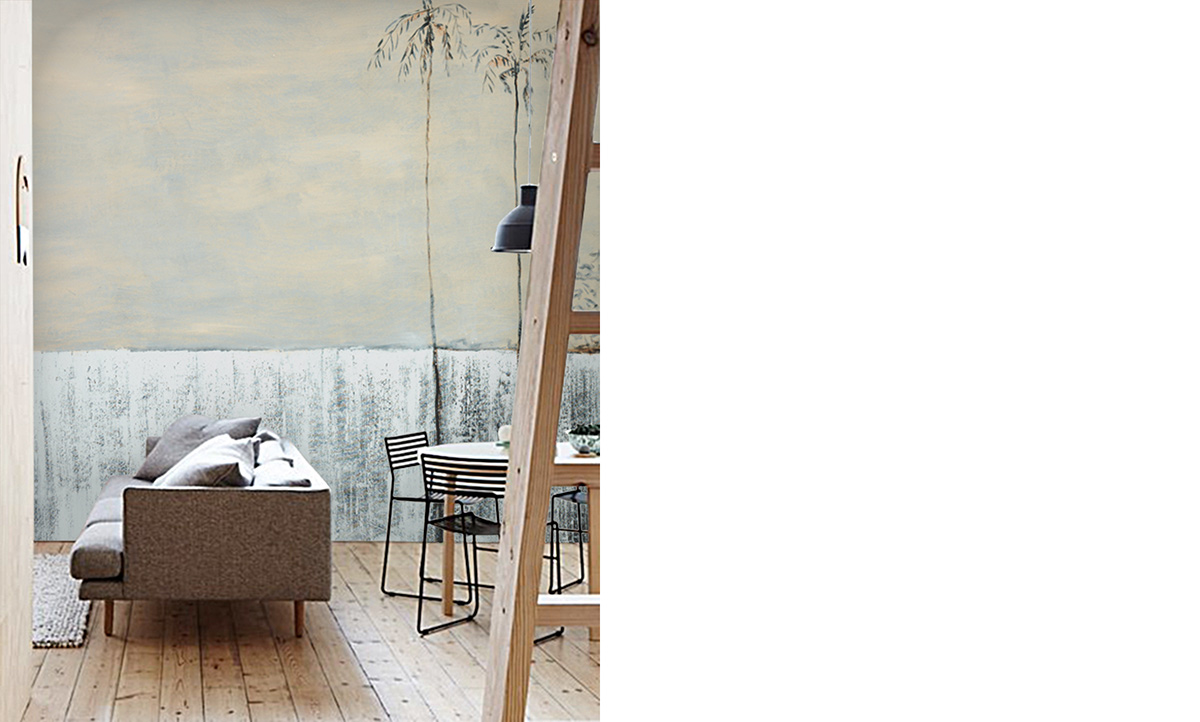
Image credit: Pexels
Stick by strips
Some types of wallpapers are pre-pasted, while others are sealed with adhesives. For those that need glue, first brush the adhesive onto the back of the paper thoroughly. Let the moisture penetrate it, and then attach the strip on the wall carefully. With non-woven wallpapers, you need to apply the glue directly on the wall instead of the paper. If in doubt, check with the stores or the instructions before you proceed.
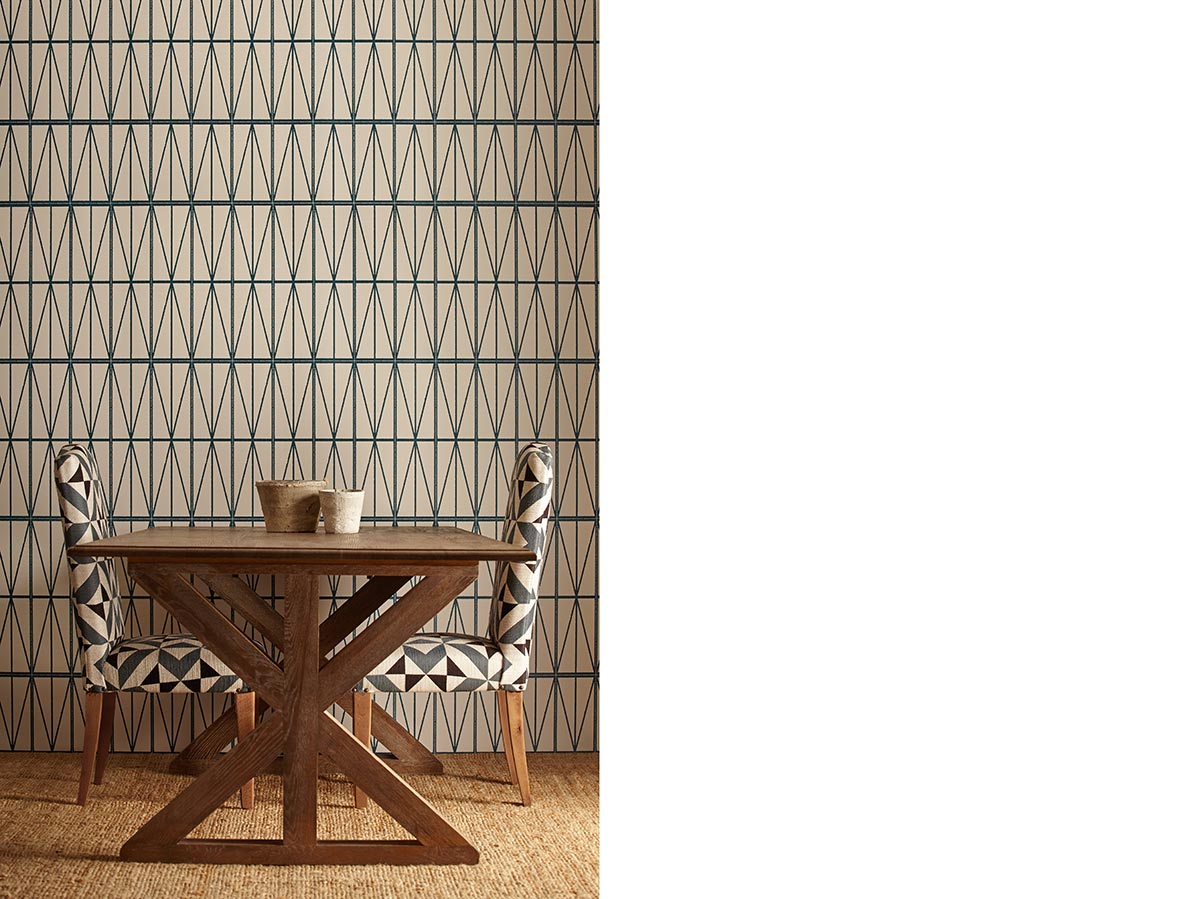
Image credit: Bode
Now, for some care tips…
Not all types of wallpaper like water. Vinyl is resistant to water, so you can easily clean it with a mixture of warm water and dish soap. It’s a good idea to test drive on an inconspicuous area first. Even though you can scrub it, do not use anything abrasive such as a rough sponge or scrubbing pads. Treat your wall covering with light hands. Plain paper wallpaper, on the other hand, should never get wet – a gentle spot-clean will hit the spot.
Light vacuuming goes a long way
Vacuuming with a soft brush attachment gets the thumbs up as the most efficient way to clean your walls. The vacuum cleaner sucks in all of the dust without requiring too much exertion, while the attachment prevents accidental scratching. Start from the top and work your way down, a couple of panels at a time.
Dust it off
A micro fiber cloth can be used to attract the dust from your walls – but to reach the upper dusty corners, wrap it around a broom and then brandish away. Flick the broom from the top, clearing dust slowly from left to right until the entire wall surface has been cleaned.
This was adapted from an article originally written by Fidz Azmin published in the October 2017 issue of SquareRooms.


