Is it possible to paint a room – or even the entire home – and get professional results? Here are the secrets to a paint job well done.
Do some research first
Thanks to breakthrough paint technology, paint products today come with a host of features. Among them are washability, coverage of hairline cracks and anti-bacterial properties. Also, many paint products today produce almost no odour and minimal volatile organic content. Note that different areas would benefit from different paints, such as anti-mould paint for bathroom ceilings and washable paints if you have children at home.
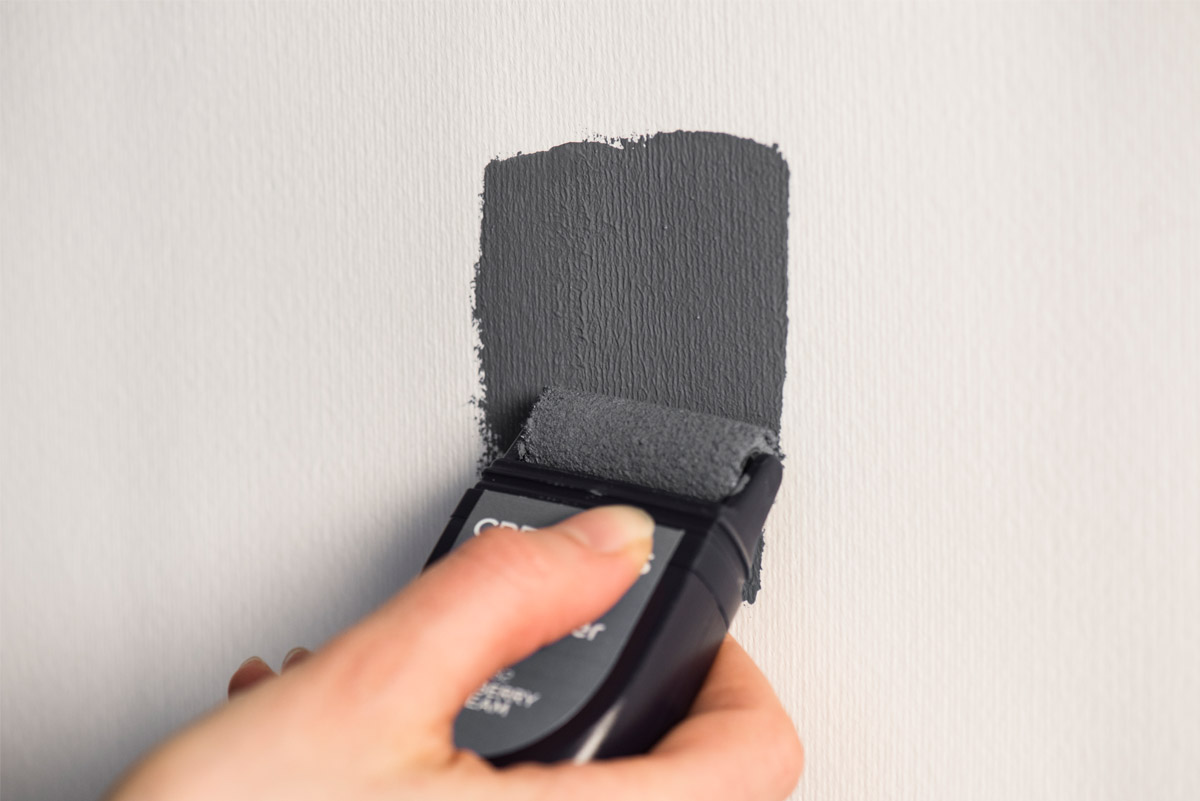
Image credit: Dulux
Get the right tools
Instead of going straight into the process, allocate some time for research and preparation. “To ensure that the final project looks perfect, it is important to make sure you’re working on a clean canvas, which homeowners tend to overlook. Some things to take note of are to properly clean walls, scrap off peels and cracks, and apply any necessary painter’s tape before beginning the DIY process. We also suggest using a primer to cover flaws in the surface and give the wall a smooth, long-lasting finish,” says Wilson Sim from LBC Creation.
You will also need brushes and rollers, which come in various sizes to serve different surfaces. Also, prepare a roller tray and, if you have different colours for your home, several roller sleeves. Lay protective sheets on the floor to protect your flooring. Secure them to the floor with masking tape. Drips can occur in the process, so remember to cover up the light switches, electrical sockets and skirting with masking tape. You will also need cleaning rags and a ladder.
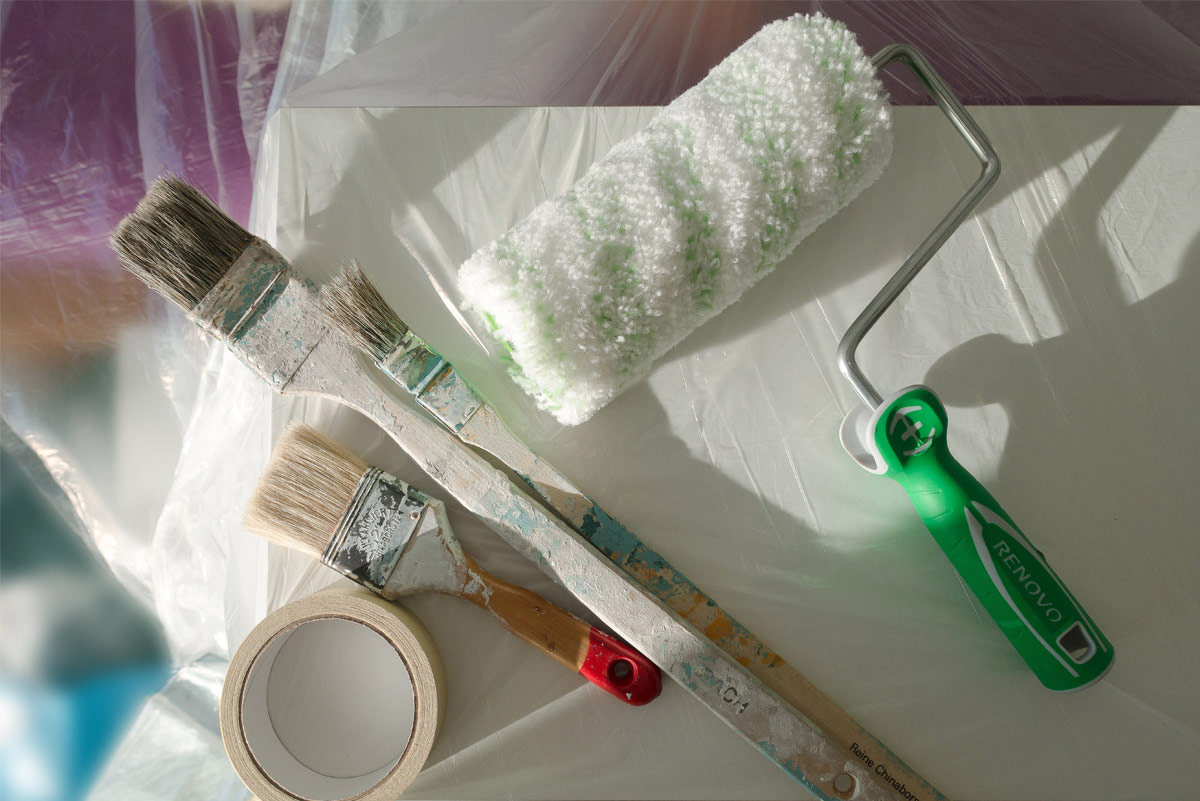
Image credit: Pixabay
Get the essentials ready
You will need an average of two coats of finishing paint. The bedroom of an average apartment will require one can of 5-litre paint. The living and dining room will need approximately 2 cans of 5-litre paint. Don’t forget the ceilings, which will require about 3 cans of 5-litre paint for an average 4-room HDB flat.
Keep order
The sequence of the project is also critical to ensure minimal mess, wastage and efficiency. Always paint the ceiling first, then the cornices and walls. These are followed by the woodwork around the doors and windows, and then the skirting. A proper sequence minimises drips and splashes that would then require do-overs and touch-ups.
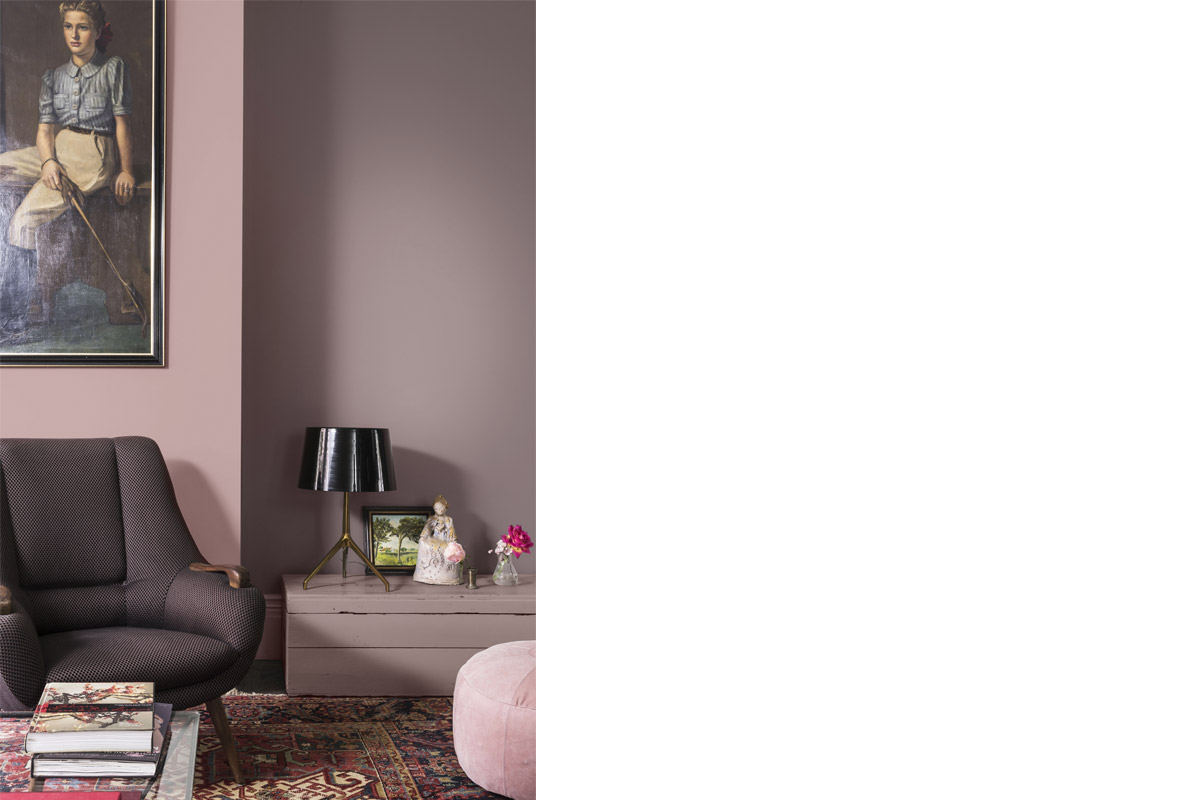
Image credit: Dulux
Protect your furniture
If you have furniture in the home, shift everything to the centre of the room and cover them up. Use clear sheets, which will help you be aware of any fragile items underneath them.
Do the “W”ave
When painting the ceiling, cut into the ceiling line and allow paint to go an inch onto the wall. This will be covered up when you paint the wall later. Use a small paintbrush to start off colouring the wall from the ceiling line. You’ll need extra care not to get the paint on the ceiling. When painting a wall with a roller, start off painting in a “W” shape to ensure an even coating across the surface. You can follow it up with straight, up-down strokes.
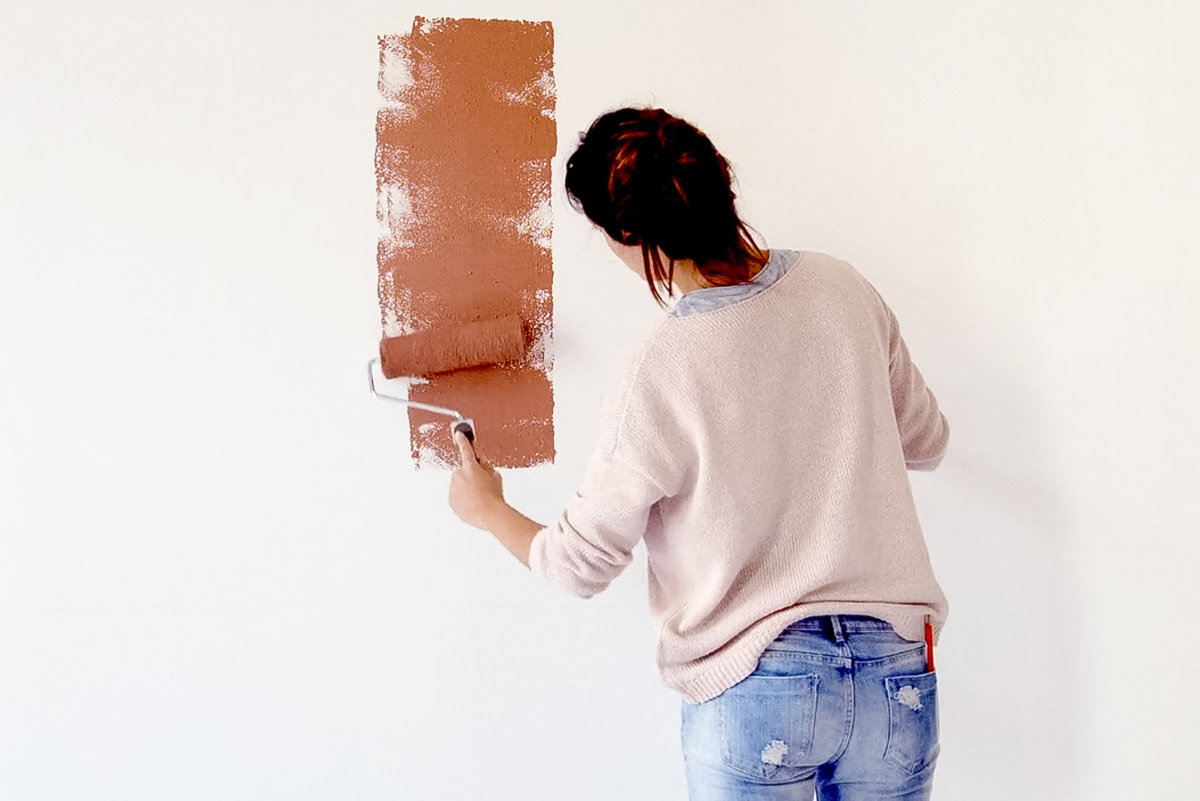
Image credit: Dulux
Just add style
Special effects paint, which can produce the textured finish of surfaces like concrete, stucco and copper, are becoming popular. Alan Tan, Project Manager of Professional Painting Services from Nippon Paint Singapore, shares some tips, “To prevent joint lines, keep a wet edge to avoid paint from drying out. Don’t stop painting in the middle of a continuous wall or trim surface. Do not stop painting until the whole wall is completed. If you do, the paint will dry and the colour
will intensify and darken, causing joint lines. The beauty of special effects paint is that it’s entirely up to your creativity in how you want to use it to create a look that’s personalised.”
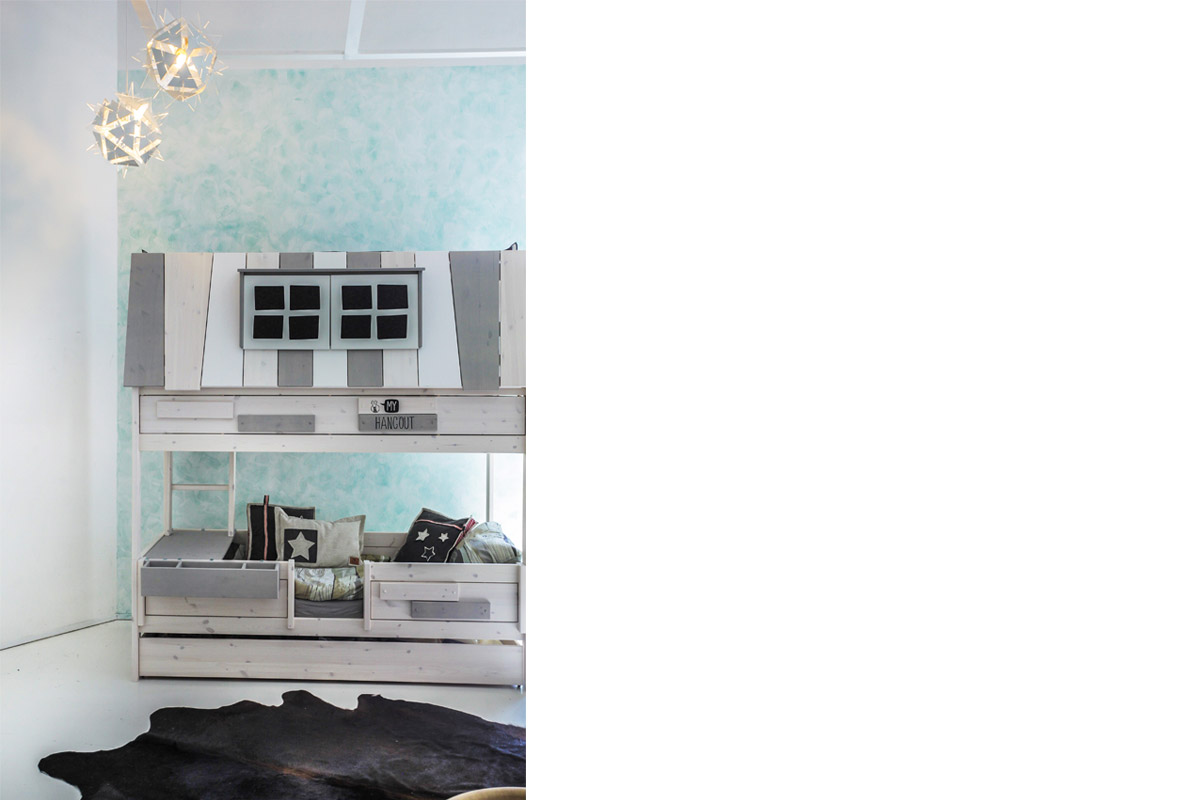
Image credit: Nippon Paint
This was adapted from an article originally written by Rossara Jamil published in the March 2018 issue of SquareRooms.


