You’ve probably heard all about the defects check when HDB or your condo developer hands you the keys. But what about the post-renovation check you should do before your interior designer or contractor goes riding off into the sunset?
If you’re a first-time homeowner, it’s easy to be so smitten with your shiny new space, you forget the devil is often in the details. This is why we’ve put together this checklist, to help you cover your bases and keep those reno regrets from creeping in later.
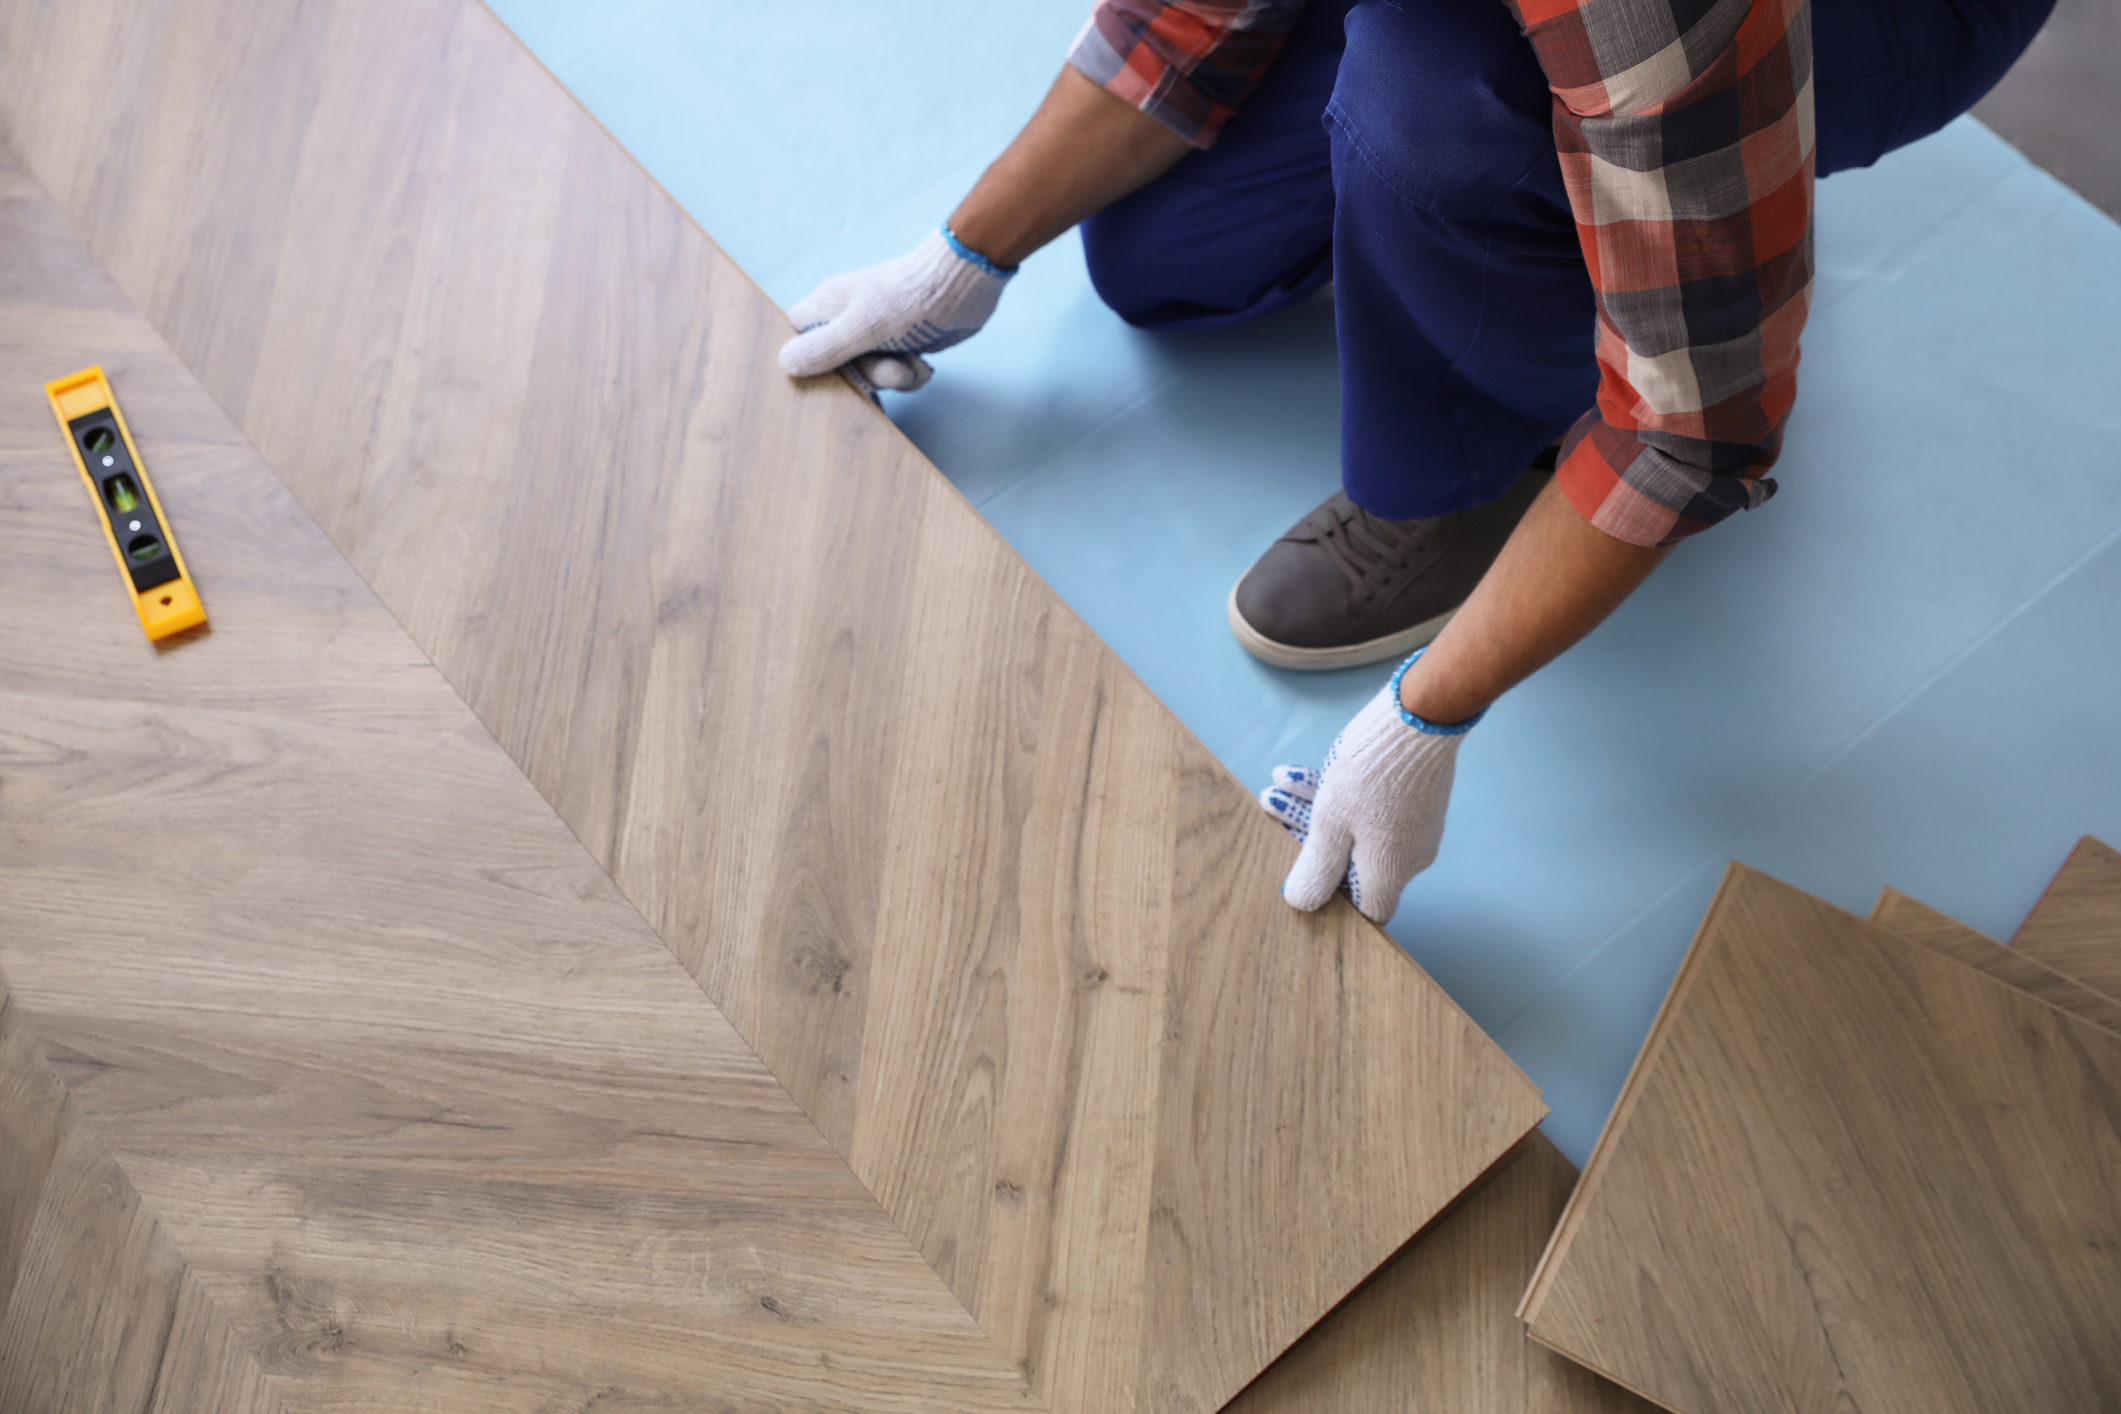
Flooring
Ideally, you’d have inspected your flooring before any carpentry came to sit on it forever and ever. But even if you did, it’s worth another sweep, as the later stages of renovation can accidental chips and dents created by heavy tools and installers traipsing in and out.
For vinyl flooring, keep an eye out for edges that look like they might peel and bubbles that may get worse with time, especially in Singapore’s weather. Tiles, on the other hand, may require you to get on all fours with a tapping rod to detect hollow spots or uneven heights. And while you’re at it, make sure your skirting is flush against the wall so it doesn’t become a dust trap or, worse, start coming off.

Plumbing and drainage
Ran a water test right after the wet works? You’ll want to repeat that after the renovation dust settles, as debris or stray cement can get lodged in pipes without you noticing.
In the kitchen, let the tap run to see how quickly water drains, check under the sink for leaks, and make sure the sealant around fixtures looks sound and works well. Do the same in the bathroom, but add a ponding test in the shower to ensure water flows cleanly to the floor trap. A little diligence now saves you from drainage issues and a grumpy downstairs neighbour knocking on your door.
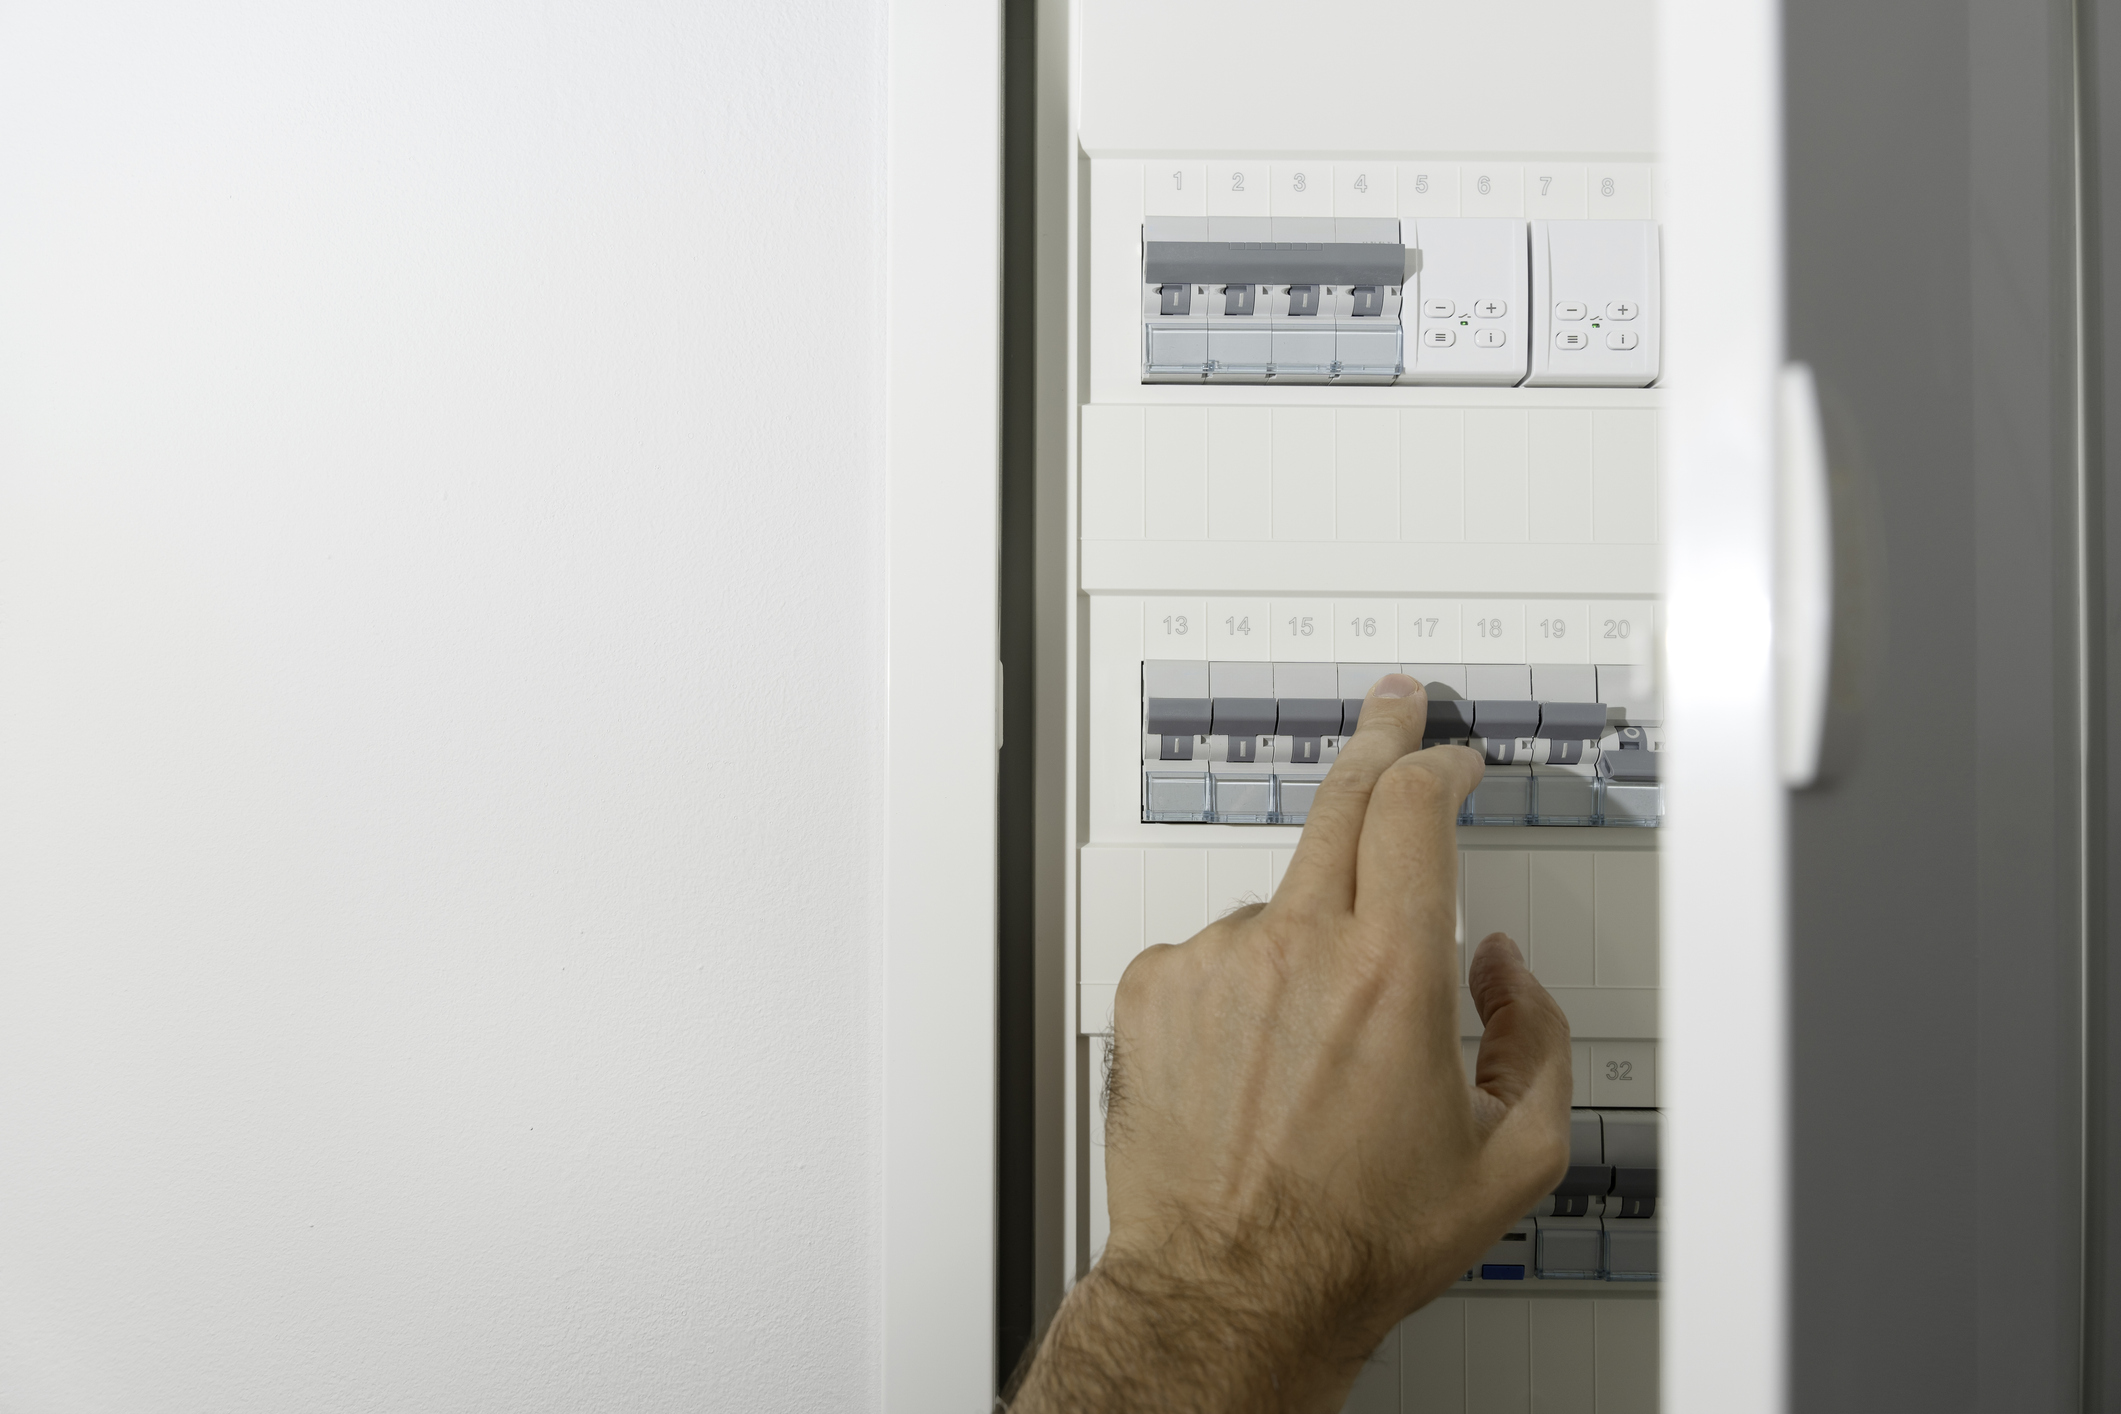
Electrical systems
Now that everything is installed, give your electrical system and appliances a proper test. Switch on the lights and fans to make sure the connections are steady, and fire up the kitchen appliances to check that nothing (not even your beast of an oven) sends the power tripping.
For the sockets you haven’t used yet, see that the faceplates sit flush, and plug a phone charger into each one to confirm they are live and ready. Don’t forget the air-conditioning units: turn each one on, feel for proper cool air from every vent, and pay attention to any suspicious noises that suggest the unit is struggling.

Doors
Being a high-traffic zone during renovation, your doors might have taken quite a beating. Start by checking for dents, scratches and smudges that weren’t there before. Then see how each door sits: it should line up cleanly with the frame, latch and stopper.
Especially if the new vinyl planks have raised the floor height, open and close the door a few times to catch any scraping, which usually calls for a quick sand-down. For lighter bedroom and bathroom doors, listen for rattling or feel for gaps, because anything too loose will shake wildly with the wind and provide barely any sound insulation.
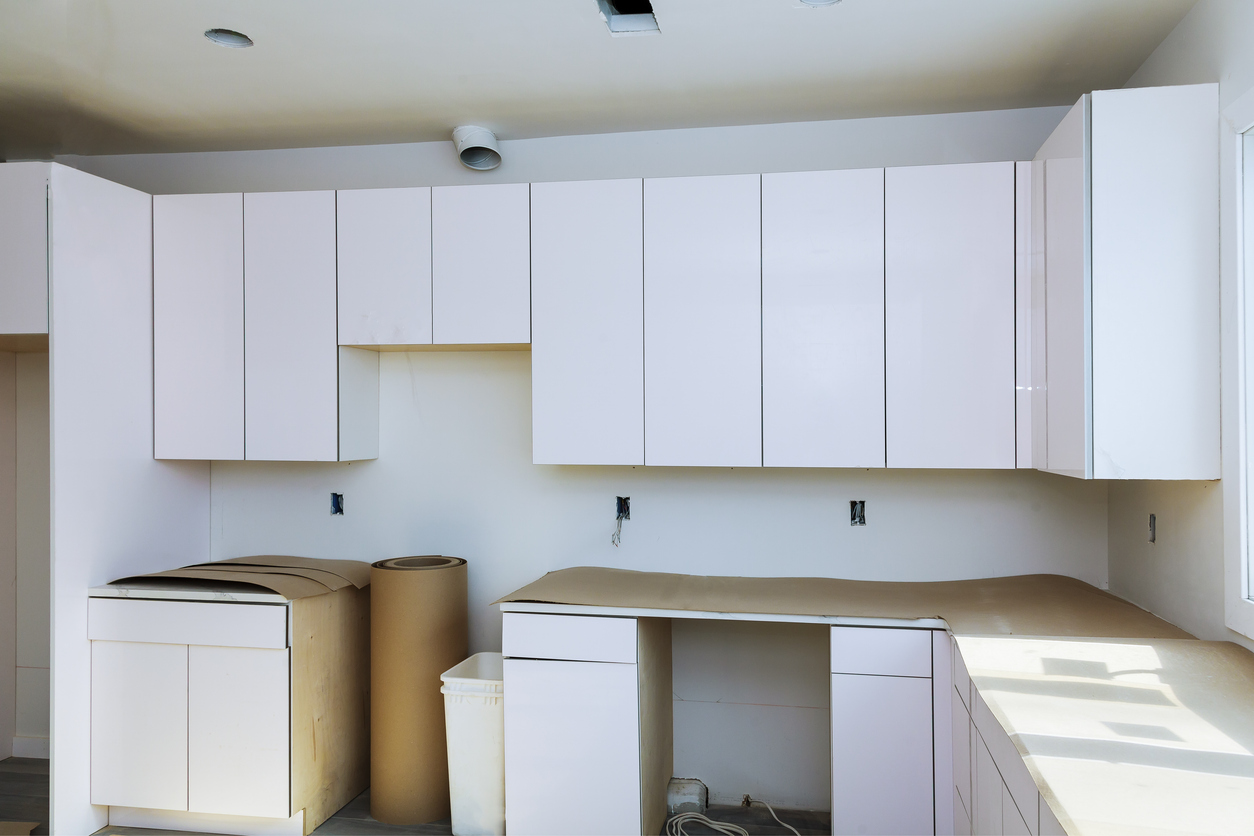
Carpentry
Carpentry always looks perfect from a distance, but even the sleekest built-ins can use a thorough poke and prod before you sign off.
Start with the appearance: uneven paint, awkward laminate joints and any adjacent surfaces that don’t quite line up. Cabinet doors, shelves and side panels should all sit level, or that slight misalignment becomes impossible to unsee.
Then move on to the mechanisms. Do the drawers glide without shuddering? Do the soft-close doors actually soft-close? Do tic-tac doors spring out far enough so you’re not clawing at them every time you reach for a mug or plate?
For extra peace of mind, try loading the compartments with some weight, particularly in the kitchen where heavy crockery will show you exactly what your carpentry is made of. After all, nothing tests workmanship quite like real-life wear and tear.
Words: Joyce Yang


