Congratulations! You finally got the keys to your BTO flat—we bet you can’t wait to start on those renovation plans. But before you get too excited, here are seven things you should take note of before diving into that home reno.
1. You have to wait three years to remove the walls and floors

Image credit: Starry Homestead
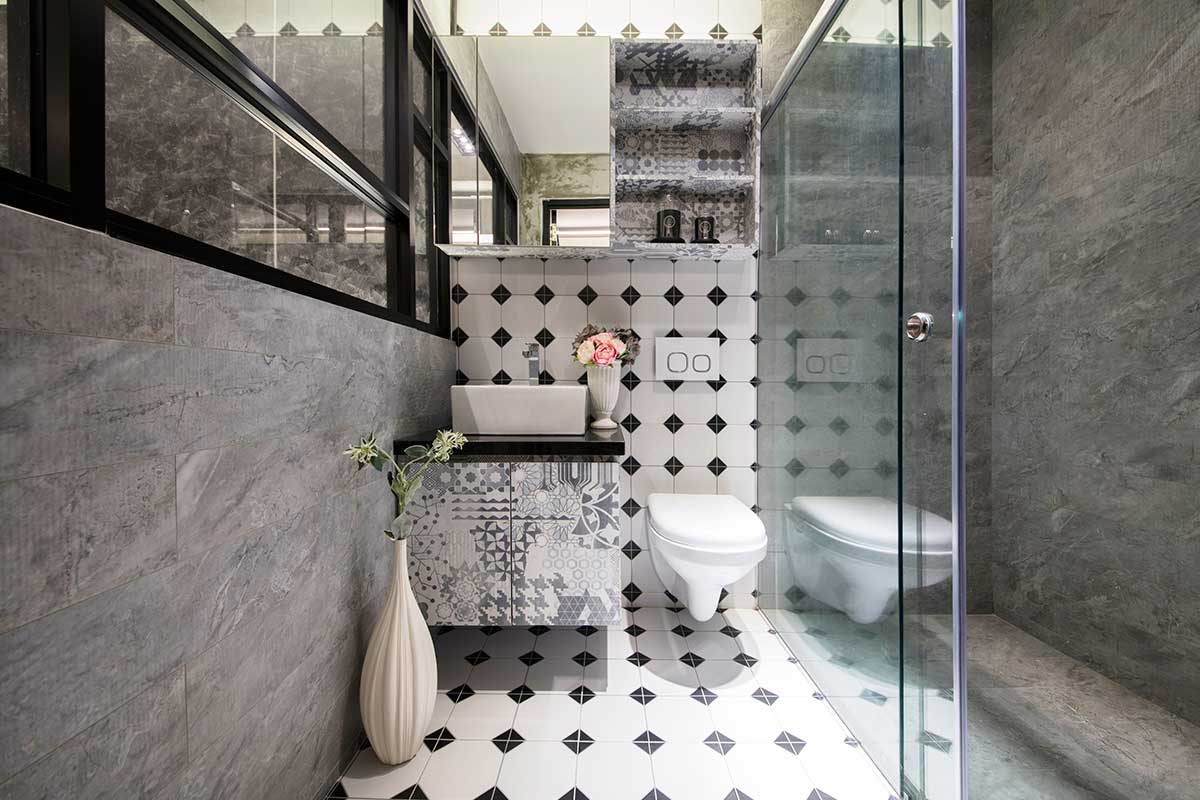
Tempted to install a brand new shower system or replace your bathroom flooring? You may need to wait three years before these plans become a reality. The wall and floor finishes in new BTO flats are equipped with waterproof membranes laid between the cement screed and tiles. The tiles come with a three-year warranty, which prevents water from leaking into your downstairs neighbours’ flat and is voided upon removal. One way to work around this is to tile over your existing floors using adhesive, helping you achieve the bathroom makeover of your dreams without voiding the warranty. Most importantly, it’s HDB-approved!
2. You should only hire BCA-approved window contractors

All BTO flats require new windows and grilles to be installed only by HDB-registered window contractors who are approved by the Building and Construction Authority (BCA). The grilles for service yards and balconies have to follow your flat’s appointed designs. While this poses limitations to your home design, these guidelines ensure that your windows don’t end up dropping ten stories down and hurting someone.
3. Pre-packed cement screed and plaster is the way to go

Image courtesy of Justdial
There are a few reasons why HDB only allows the use of pre-packed cement screed and plaster for your floors and walls. Besides providing a higher consistency in the finished work, these pre-packed materials also keep the renovation site cleaner and reduce the overall time needed to complete the renovation. While they cost a bit more, they ultimately lead to consistently better results.
4. You can’t demolish walls without official approval

Image courtesy of ERSTUDIO PTE LTD
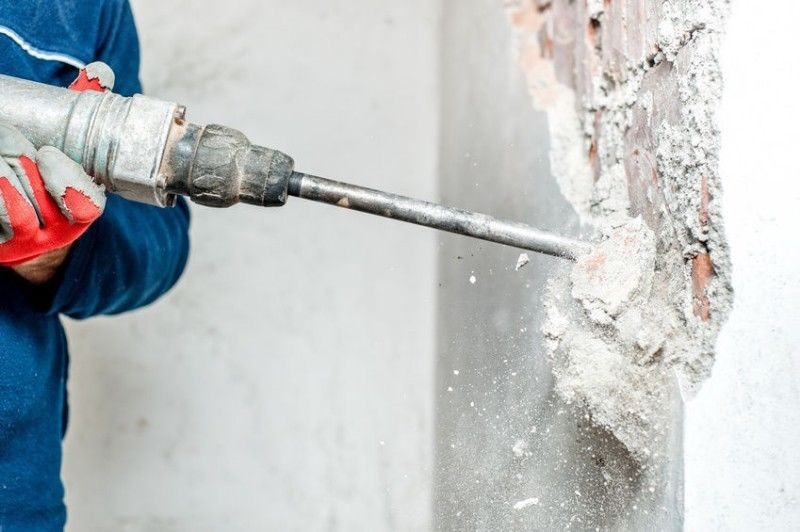
Don’t be too eager to hack down those walls just yet. Before carrying out demolition or hacking works, written approval from the HDB must be obtained in order to preserve the structural integrity of the building. The last thing you want is to endanger yourself and your family by knocking down something you’re not supposed to.
5. You can’t hack or drill away at your bomb shelter

Image credit: Z L Construction
Let’s admit it—bomb shelters don’t look appealing and we can’t blame anyone who has the urge to pretty them up. However, keep in mind that you aren’t allowed to hack and drill the walls, floors and ceiling as it can weaken the bomb shelter’s structural elements. While you can paint over the walls, ceiling and door, the existing coat of paint needs to be removed first in order to avoid excessive thickness. Also, make sure not to paint over the bomb shelter’s door notice, locking bolts or door seal.
6. You should only hire interior designers listed in the DRC

If you’re unsure of where to start looking for an interior designer, the best way is to browse through the Directory of Renovation Contractors (DRC). Thanks to their sufficient training and good track record, you can take heart knowing that DRC-listed interior designers and contractors will carry out their work safely without damaging your HDB property. Those who engage an unlisted contractor will be slapped with a $5,000 fine—you really don’t want that additional cost on top of the hefty renovation fees!
7. You should always demand a contract—and read it carefully

Even if your contractor is well-known or was recommended to you by a family friend, you should never be too trusting! Read through the terms of the contract and be sure to understand your rights and obligations. The contract should also provide a clear breakdown of the scope of work, costs, schedules and terms of payment. If you see anything that needs changing, feel free to negotiate; it’s a lot harder to make changes once the contract is signed. Most contractors use standard-term contracts such as the CASE model agreement. Avoid signing a contractor’s proprietary contract as it may be drafted unfairly in their favour.
Featured image courtesy of 1618 Studio


