We spoke to the team at Aratamete to find out more about Kalklitir, the eco-friendly limewash paint everyone is loving right now.
So, what exactly is Kalklitir?
Kalklitir, pronounced “kalk-lee-teer,” is a Belgium-based company specialising in lime-based powder paint. Our founder discovered it online three years ago during the circuit breaker. She was looking for ideas to achieve a beautiful, textured wall and found all sorts of plaster and limewash products.
The former was a little complicated to apply, but the latter was more straightforward, so she bought a couple of bags of Kalklitir limewash paint (also known as Kalkpaint) for her wall at home. Realising how easy it was to apply the paint and achieve the texture she’d been looking for, she started retailing it at Aratamete to encourage homeowners to do more DIY projects in their homes.
What are some of the pros and cons of the Kalklitir limewash paint?
It’s shipped in powder form, so it’s lighter to transport than traditional paints. It doesn’t contain VOCs or film-forming plastics that release harmful gases. The only thing that evaporates from the paint mixture is water!
It’s also extremely easy to apply, touch up and lend the walls a kind of depth that emulsion paint can’t achieve. Perhaps the only drawback is that it’s not suitable for outdoor and wet areas.
What tools do we need to apply the paint?
You need the paint, a Kalklitir lime brush or another broad-based brush, a clean bucket with a lid and a 2.5 to three-litre capacity, a professional electric or kitchen whisk, a measuring jug, safety goggles, gloves, some kind of floor covering and some painters tape.
Guide us through the process step-by-step.
Step 1: Prime the wall
If you’d like to use Kalkpaint on surfaces that have already been lacquered or painted with oil-based paints, prep them first with water-based acrylic primer. This prevents discolouration and achieves the desired result because Kalpaint does not bond with oil-based surfaces, and existing plaster may absorb the colour differently.
Step 2: Choose your technique
We recommend two techniques when working with Kalkpaint: the up-and-down and the X-strokes. Up-and-down is a technique where all brush strokes are done up-and-down. This method will give you a more subtle texture and the least “cloudy” effect. The X-strokes is a technique where all your strokes are crossed at a 45-degree angle, giving you more texture and a bolder effect.
There is no right or wrong outcome; you are working with a natural material and the final result will vary depending on your methods. Both methods are easy to do, and you can watch the demo videos on our page to see how they work.
Step 3: Apply the paint
Stir the mixture bucket well—at least 10 minutes— before you start and during the painting process to prevent pigments from sinking to the bottom and causing discolouration. Start with the top corner of the wall. Paint down towards the floor in sections of 45-90 centimetres. The colour will look darker when wet and lighter as the paint dries.
Apply even pressure on your brush strokes. Varying the pressure can give you an uneven colour as harder strokes crush more pigments than lighter strokes.
We recommend applying at least two layers of paint to ensure complete coverage. The second layer is usually where the magic happens in terms of getting the desired depth, effect and texture.
Step 4: Let the wall dry
It takes around two to five hours for the first layer to dry before you can start painting the second layer; the timing depends on the humidity and temperature in the room. Hot and dry spaces dry more quickly than cold and damp ones.
The second layer will take a bit longer to dry. Kalkpaint can take four to ten days to fully harden, depending on the desired colour and environmental conditions. So even though the colour looks dry and ready, treat it with extra care for the first couple of days.
How much would it cost to limewash a living room in an average BTO flat?
You’d need about three to four large bags of Kalkpaint. Each one-kilogramme bag covers about eight square metres with two coats of paint. For a DIY project using two brushes, it would take two full days’ work and cost the homeowner around $600 to $700 to paint the whole living room.
Aratamete does not offer painting services, but we do have partner contractors who can do it for you, so get in touch!
How often do we need to repaint or touch up a limewashed wall?
If you notice it’s scratched or damaged, simply paint over the affected patch. A limewashed wall is really easy to maintain. Do note that there will be a dark patch if it gets in contact with water—leave it to dry and it will cure and return to its previous state.
What are the bestselling Kalkpaint colours in Singapore?
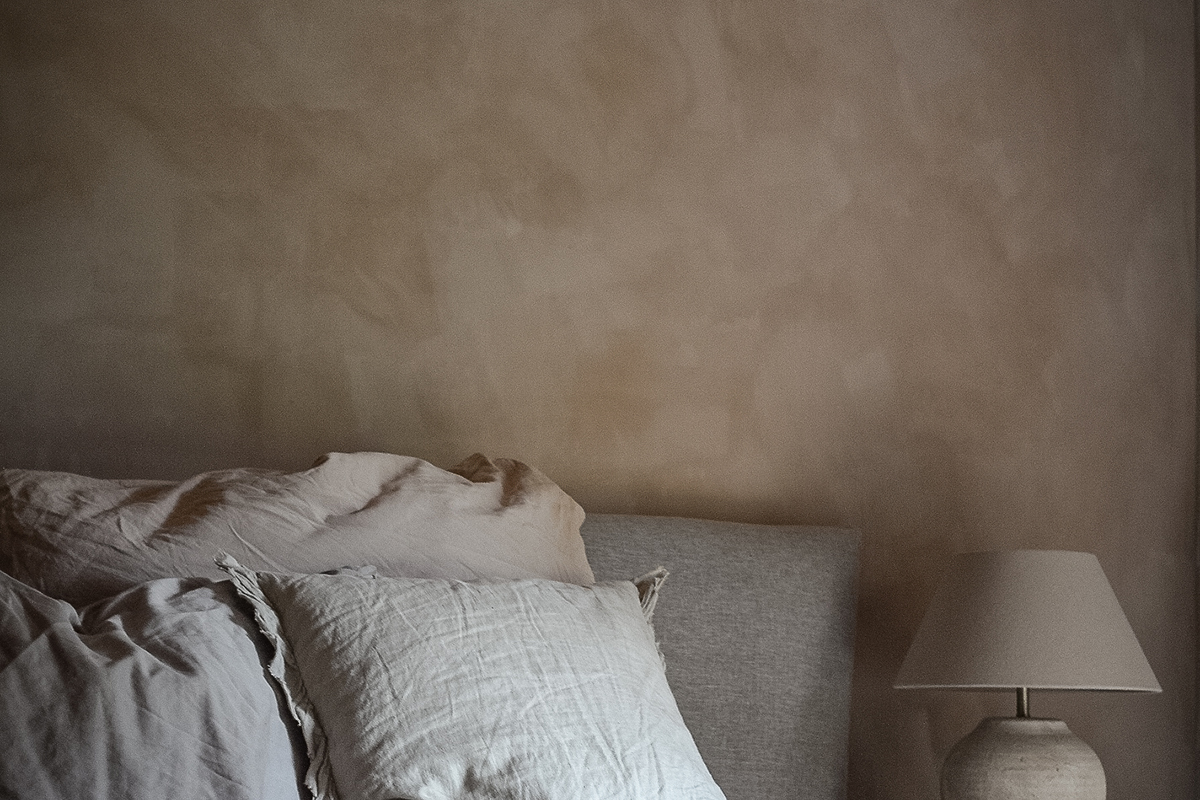
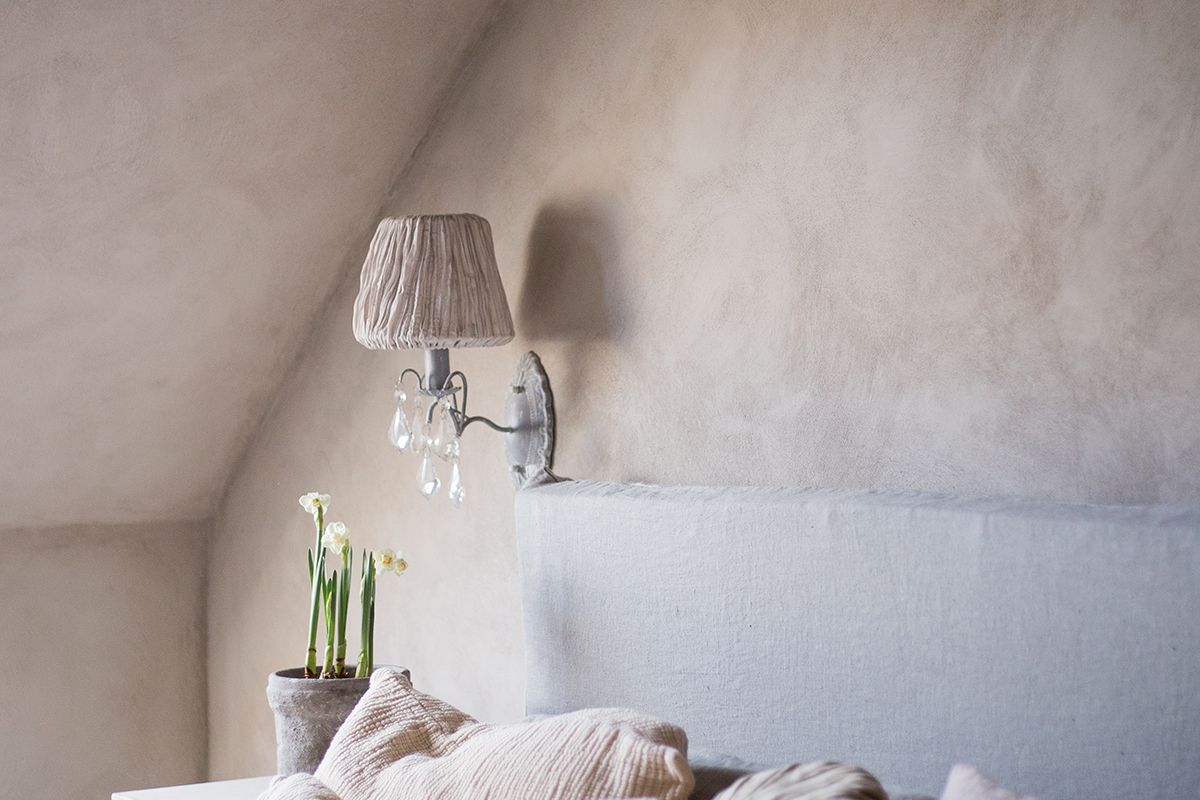
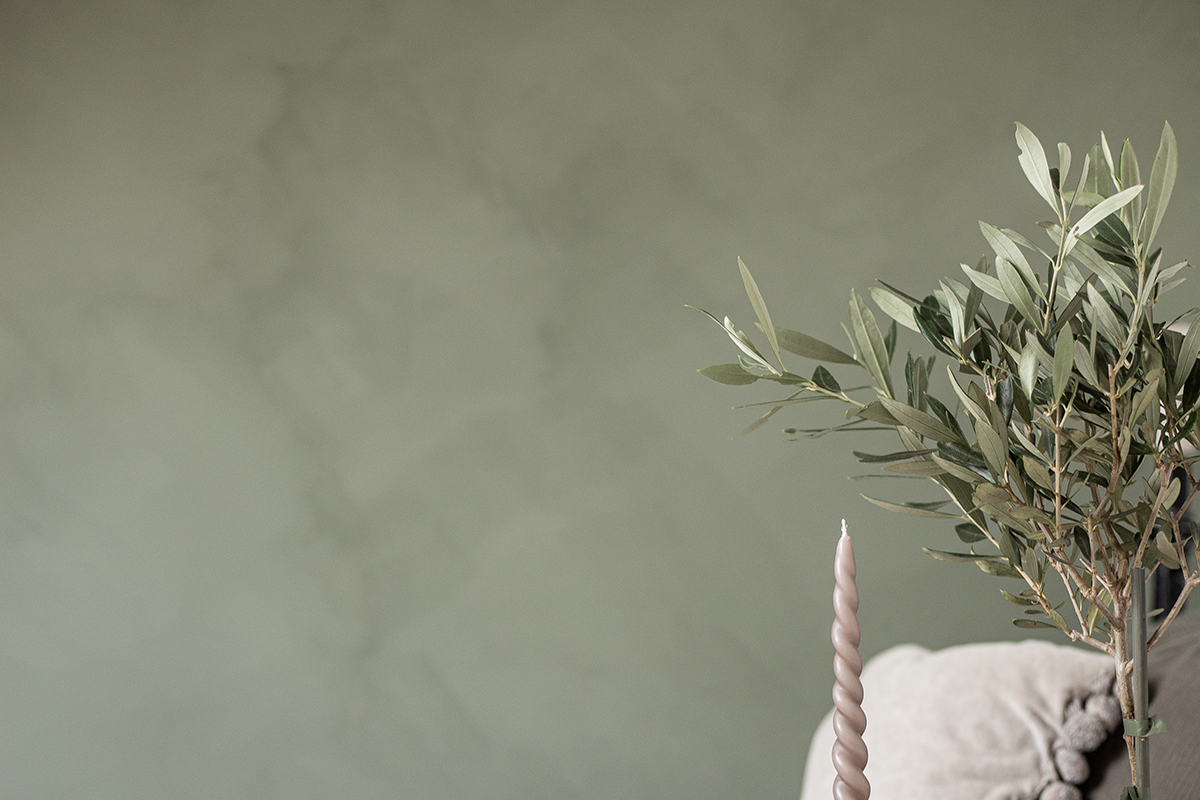
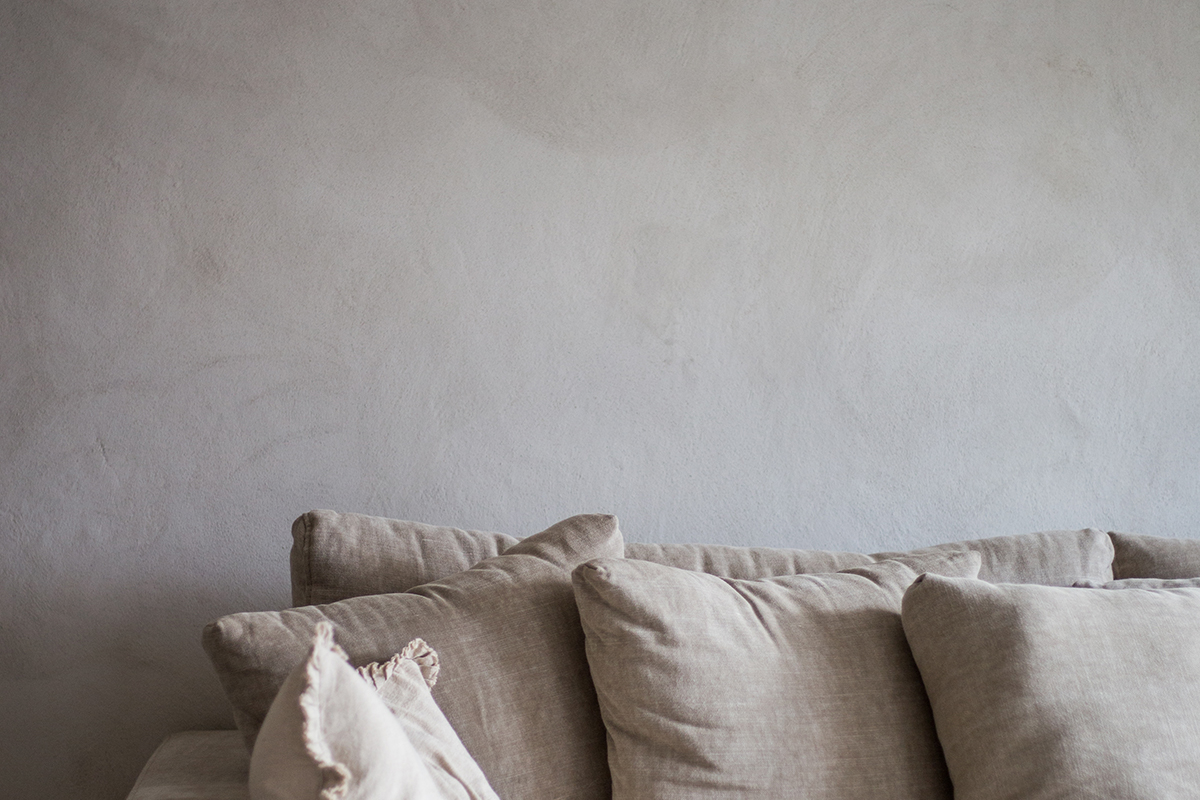
The blush-toned beige Calce, the greige Palladio and the warm grey Nudo Grigio.
Aratamete
aratamete.com
This post was adapted from an article by Asih Jenie, first published in the April 2023 issue of SquareRooms.


